Welcome to the world of homemade desserts! Today, I'm excited to share a simple and tasty recipe for creamy vanilla pudding cups that will delight your taste buds. With just a few key ingredients, you can create a treat that’s both smooth and delicious. Whether you want to serve it at a party or enjoy it as a snack, this pudding is sure to impress. Let’s dive in and whip up some sweet magic!
Why I Love This Recipe
- Rich and Creamy Texture: This pudding strikes the perfect balance between being luxuriously creamy and light, making it a delightful treat.
- Simple Ingredients: With just a few staple ingredients, this recipe is easy to whip up and doesn’t require any fancy equipment.
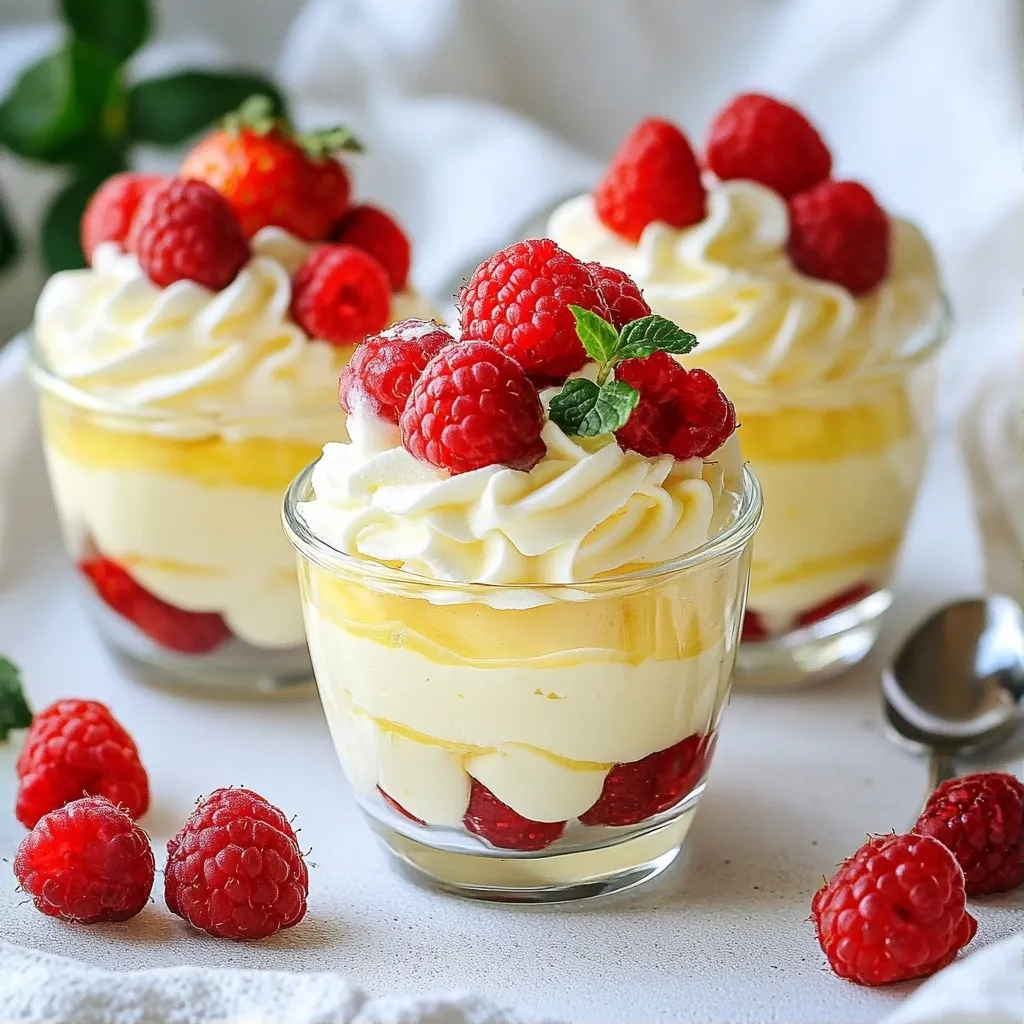
- Customizable Toppings: Top it with whipped cream and fresh berries for a burst of flavor, or enjoy it plain for a classic experience.
- Perfect for Any Occasion: Whether it’s a fancy dinner or a casual family meal, these pudding cups are sure to impress and satisfy.
Ingredients
Essential Ingredients for Creamy Vanilla Pudding Cups
To make these creamy vanilla pudding cups, you need a few key ingredients:
- 2 cups whole milk
- 1/2 cup granulated sugar
- 1/4 cup cornstarch
- 1/4 teaspoon salt
- 3 large egg yolks, lightly beaten
- 2 tablespoons unsalted butter
- 1 tablespoon pure vanilla extract
These ingredients work together to create a rich, smooth pudding. The milk gives it creaminess, while the sugar adds sweetness. Cornstarch helps to thicken the pudding, making it just right.
Optional Garnishes and Toppings
For a fun twist, you can add some garnishes to your pudding cups:
- Whipped cream, for a light touch
- Fresh berries, like strawberries or blueberries, for color and flavor
These toppings not only look great but also enhance the taste. You can mix and match your favorites, too!
Ingredient Substitutions
If you need to change some ingredients, here are some ideas:
- Use almond milk or oat milk instead of whole milk for a dairy-free option.
- Swap granulated sugar with honey or maple syrup for a natural sweetener.
- If you don’t have cornstarch, you can use all-purpose flour, but it may change the texture slightly.
With these substitutions, you can still enjoy delicious creamy vanilla pudding cups!
Step-by-Step Instructions
Preparing the Pudding Base
Start by grabbing a medium saucepan. Add 2 cups of whole milk, 1/2 cup of granulated sugar, 1/4 cup of cornstarch, and 1/4 teaspoon of salt. Whisk these together until smooth. This mix is the heart of our creamy vanilla pudding. Place the saucepan on medium heat. Stir it constantly for about 5 to 7 minutes. Watch for it to thicken and bubble. Once you see bubbles, it's time to lower the heat.
Tempering the Egg Yolks
Next, take 3 large egg yolks and lightly beat them in a bowl. Slowly pour about 1/2 cup of the hot milk mixture into the egg yolks. Make sure to whisk continuously as you do this. This step is key to avoid scrambling the eggs. After mixing, pour the tempered egg yolks back into the saucepan. Whisk constantly again. Cook this mix for another 2 to 3 minutes. It should thicken even more.
Cooling and Serving Suggestions
Now, remove the saucepan from heat. Stir in 2 tablespoons of unsalted butter and 1 tablespoon of pure vanilla extract. Make sure everything blends well. Transfer the pudding into individual cups or a large bowl. Cover it with plastic wrap. Press it directly onto the surface to stop a skin from forming. Let it cool at room temperature for 30 minutes. After that, refrigerate for at least 2 hours. When ready to serve, top the pudding with whipped cream and fresh berries. This adds a lovely touch to your dessert!
Tips & Tricks
Perfecting the Creamy Texture
To get that smooth texture in your pudding, use whole milk. It has the right fat content. Cornstarch is key for thickening. Make sure you whisk it well with milk and sugar. Stir constantly when cooking. This helps prevent lumps. When the pudding thickens, it should coat the back of a spoon. If it doesn’t, keep cooking a bit longer.
Avoiding Common Mistakes
One common mistake is cooking the pudding too fast. Medium heat is best. If you cook on high, it may burn. Another mistake is not tempering the egg yolks. Slowly add hot milk to the yolks while whisking. This keeps your pudding silky. Lastly, don’t forget to cover the pudding with plastic wrap. It stops a skin from forming on top.
Presentation Ideas for Serving
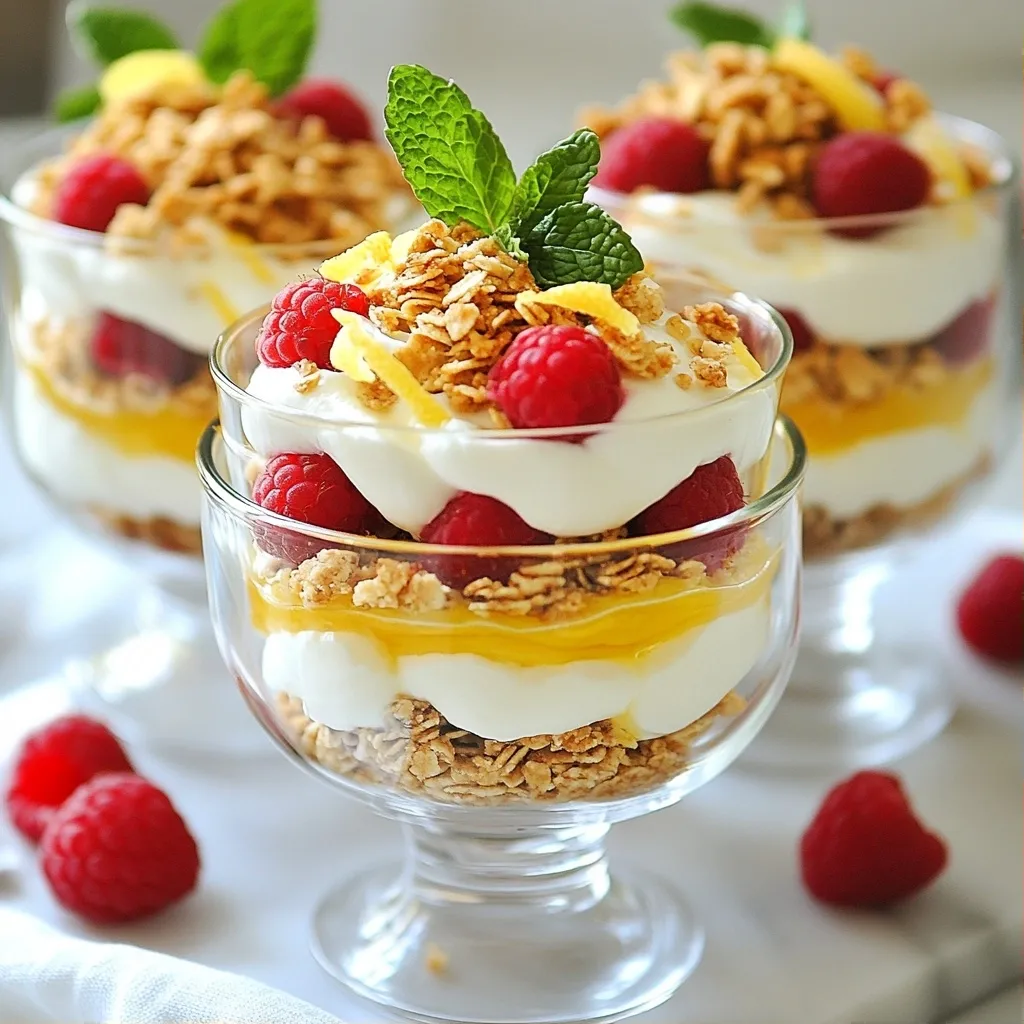
For a beautiful presentation, use clear glass cups. Layer the pudding with whipped cream and fresh berries. This shows off the creamy layers. You can also sprinkle crushed cookies on top for texture. A mint leaf can add a pop of color. Serve chilled for the best taste. Your guests will love the look and flavor!
Pro Tips
- Use Fresh Ingredients: For the best flavor, opt for high-quality vanilla extract and fresh milk. This will elevate the overall taste of your pudding.
- Tempering the Eggs: Always temper the egg yolks with a little hot milk before adding them back to the saucepan. This prevents the eggs from cooking too quickly and curdling.
- Preventing Skin Formation: Cover the surface of the pudding with plastic wrap directly after cooking to avoid a skin forming as it cools.
- Chill for Best Texture: Allow the pudding to chill in the refrigerator for at least 2 hours. This helps it to set properly and improves the texture.
Variations
Chocolate Vanilla Pudding Cups
You can easily make chocolate vanilla pudding cups. Just add cocoa powder to the mix. Use 1/3 cup of cocoa powder. Mix it in with the sugar before you heat the milk. This adds a rich, chocolatey flavor to your base. When you serve it, layer the chocolate pudding with the vanilla pudding for a fun twist. The contrast looks great in clear cups!
Fruit-Infused Pudding Options
You can make your pudding fruity too! Use pureed fruits like strawberries or mangoes. After cooking the vanilla pudding, fold in 1/2 cup of the pureed fruit. This gives you a fresh and tasty treat. You can also add fresh fruit on top when serving. Berries, sliced bananas, or peaches make great toppings.
Dairy-Free and Vegan Alternatives
To make dairy-free or vegan pudding, swap the milk and butter. Use almond, oat, or coconut milk instead of whole milk. For the butter, use coconut oil or vegan butter. Replace the egg yolks with a mix of cornstarch and almond milk. Mix 1 tablespoon of cornstarch with 2 tablespoons of almond milk. This gives you a creamy texture without dairy. Your friends will love this tasty and creamy vegan option!
Storage Info
How to Store Leftover Pudding
To keep your leftover pudding fresh, cover it well. Place plastic wrap directly on the surface. This will stop a skin from forming. Store it in the fridge for up to five days. If you want to keep it longer, consider freezing it.
Recommended Storage Containers
Use airtight containers for the best storage. Small glass jars work great for individual servings. You can also use plastic cups. Just make sure they seal well. Avoid metal containers, as they can change the taste over time.
Best Practices for Reheating
If you want to reheat your pudding, do it gently. Use the stove on low heat. Stir it often to avoid burning. You can also use the microwave. Heat in short bursts and stir in between. Add a splash of milk if it seems too thick. Enjoy your creamy pudding warm or cold!
FAQs
Can I use almond milk instead of whole milk?
Yes, you can use almond milk. It will change the taste and texture a bit. Almond milk is thinner than whole milk. For best results, choose unsweetened almond milk. This will help keep the sweetness just right.
How long does homemade pudding last in the fridge?
Homemade pudding lasts about 4 to 5 days in the fridge. Be sure to store it in an airtight container. This helps keep it fresh and creamy. If you see any signs of spoilage, it's best to toss it.
Can I freeze vanilla pudding cups?
You can freeze vanilla pudding cups, but the texture may change. Freezing can make the pudding grainy. If you decide to freeze, store it in a freezer-safe container. Thaw it in the fridge before serving but know it may not be as smooth.
In this post, we explored how to make creamy vanilla pudding cups. You learned about essential ingredients, step-by-step instructions, and helpful tips. We also discussed tasty variations and how to store leftovers properly. Remember, using the right ingredients and techniques ensures a great texture. Whether you stick to classic flavors or try new twists, homemade pudding is always rewarding. Enjoy sharing your delicious treats with friends and family!